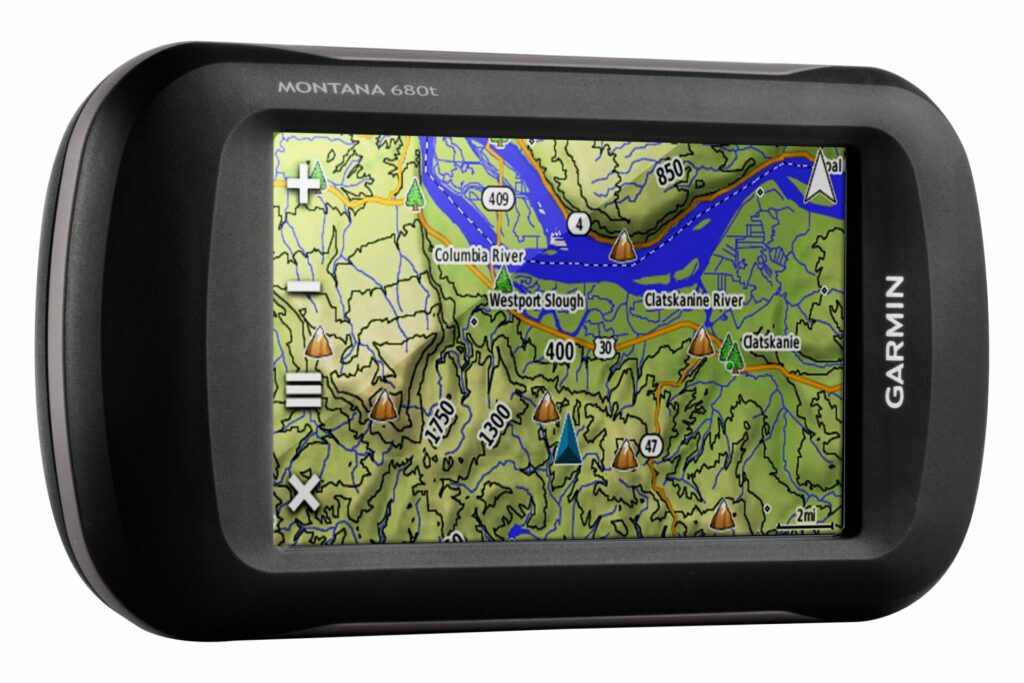
Please follow these steps to install your map
How to install the map on Garmin GPS
- Download the map. You find the download link in the order confirmation E-Mail or in our user account if you have one on garminworldmaps.com
- After Downloading the map, unpack (unzip) the file
- Insert your SD-card into your SD-card reader. If you don’t have an SD-card reader, you can connect your Garmin GPS to your computer with a USB cable. Make sure that the SD-card is in the GPS unit before you plug it into the computer.
- If you have already a “Garmin” folder with a map on your device. Make a backup.
- If you want to use more than one map on your Garmin device, rename the gmapsupp.img to xxxxx.img (Do not change the .img ending)
- Copy the folder “garmin” with the file gmapsupp.img to your Garmin. / Or copy the gmapsupp.img file into the Garmin folder on the SD-card. The folder name must begin with a capital “G”.
The map will not work if you put the file in the Garmin folder of the GPS device itself.
The map must be placed in the Garmin folder of the SD-card.
Zumo 595LM, use the folder name Map with capital “M” instead of the Garmin Create the folder on the SD-card if it does not already exist.
- Safely remove the SD-card once the file has finished copying.
- Turn on your Garmin GPS with the SD-card inserted and go through the following screen navigation:
- Touch the Map Info button at the bottom and check the box beside the map to enable it. You should also uncheck the built-in map if the map areas overlap.
For Garmin Zumo 595LM, use Settings → Map & Vehicle → myMaps.
How to install the map on Windows using BaseCamp
- Download the map. You find the download link in the order confirmation E-Mail or in our user account if you have one on garminworldmaps.com
- After Downloading the map, unpack (unzip) the maps
- Open the folder “win-mac”
- Execute the program “GMAP_Installer_Topo_Map_xxx_en.exe” Important: The Zip folder “Topo_Map_xxx_en.gmap.zip” must be in the same directory as the GMAP installation program. Note: Garmin BaseCamp must be closed in order to install the map on your PC.
- Now open Garmin Basecamp and select the map you just installed.
How to install the map on macOS
- Unzip the gmap file that you downloaded. You will find that file in the “win-mac” folder. After unzipping, you get a file named <map_name>.gmap”.
- Use Finder to locate your Application folder.
- Hold Ctrl and click on the BaseCamp app icon. Select “Show Package Contents”.
- The “Contents” folder should show up. Select it, and you will find a lot of files and folders.
- Drag “<map name>.gmap” into the “Resources” folder.
- BaseCamp should be able to see the map the next time it starts. You should be able to enable the map from the “Maps” menu.
If you are having Problems than create a new folder called “gmapi”
Copy the extracted folder “Topo_Map_CYP_en.gmap” to the “gmapi folder.
Garmin Open Mapmanager and install the map.
Older Garmin Devices
- The Garmin device loads a single map file called “gmapsupp.img”. This file must be in a directory called “Garmin” on the SD-card (so the full path is “Garmin/gmapsupp.img”). If the “Garmin” directory does not exist on the SD-card, you will have to create it.
- There can only be one “gmapsupp.img” file, so if the map is distributed as several .img files you will need to merge them together – this can be done with the mkgmap command “mkgmap –gmapsupp mapA.img mapB.img mapC.img […]”.
Newer Garmin Devices
- These devices can load multiple “*.img” files. As with older devices, they must reside in a directory called “Garmin” on the SD-card (so the full path is “Garmin/*.img”). If the “Garmin” directory does not exist on the SD-card, one must be created.
- Though there is no particular requirement to do so, when maps are distributed as multiple “.img” files, use the mkgmap command “mkgmap –gmapsupp mapA.img mapB.img mapC.img […]” to combine them into a single file. This makes it easier to enable and disable the map in the on-device “Setup|Map|Map Information Select Map” menu.
- As there multiple “.img” files are permitted on the device, it is relatively simple to load more than one map set on the device. When loaded as individual files, each map may be individually enabled and disabled from the on-device “Setup|Map|Map Information Select Map” menu. It can be convenient to have the ability to enable and disable individual maps.

